Ultra Clear Epoxy Flooring Application Best Practices
Ultra Clear Epoxy Flooring Application Best Practices for our Climate
Alright, so we just talked about the overall goodness of epoxy for garage floors. Now let’s narrow our focus and get technical about one specific, high-end application: Ultra Clear Epoxy.
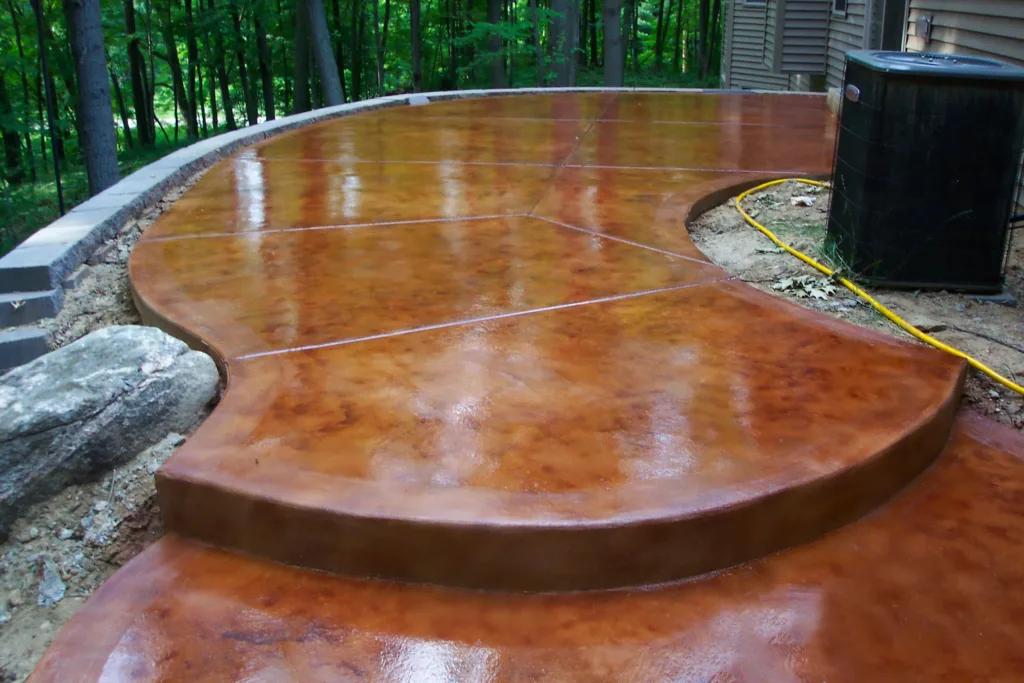
This is where the finish becomes less about just protection and more about pure artistry. Ultra clear epoxy is the high-gloss, liquid glass look that designers dream about.
It’s what you use for encapsulated penny floors, sophisticated commercial retail spaces, or over a stunning metallic base coat. When applied correctly, it’s flawless. When applied incorrectly?
It’s a disaster movie starring bubbles and yellowing. The demand for these premium products emphasizes perfection and luxury, so the application has to match the promise.
Here are the best practices you need to know to make that ultra-clear finish pop with professional flair.
The Prep Work: Non-Negotiable Perfection
You know the cliché: “Preparation is 90% of the job.”
With ultra clear epoxy, that’s actually an understatement.
You are essentially pouring a magnifying glass over your substrate. Every speck of dust, every stray hair, every fingerprint—it will show.
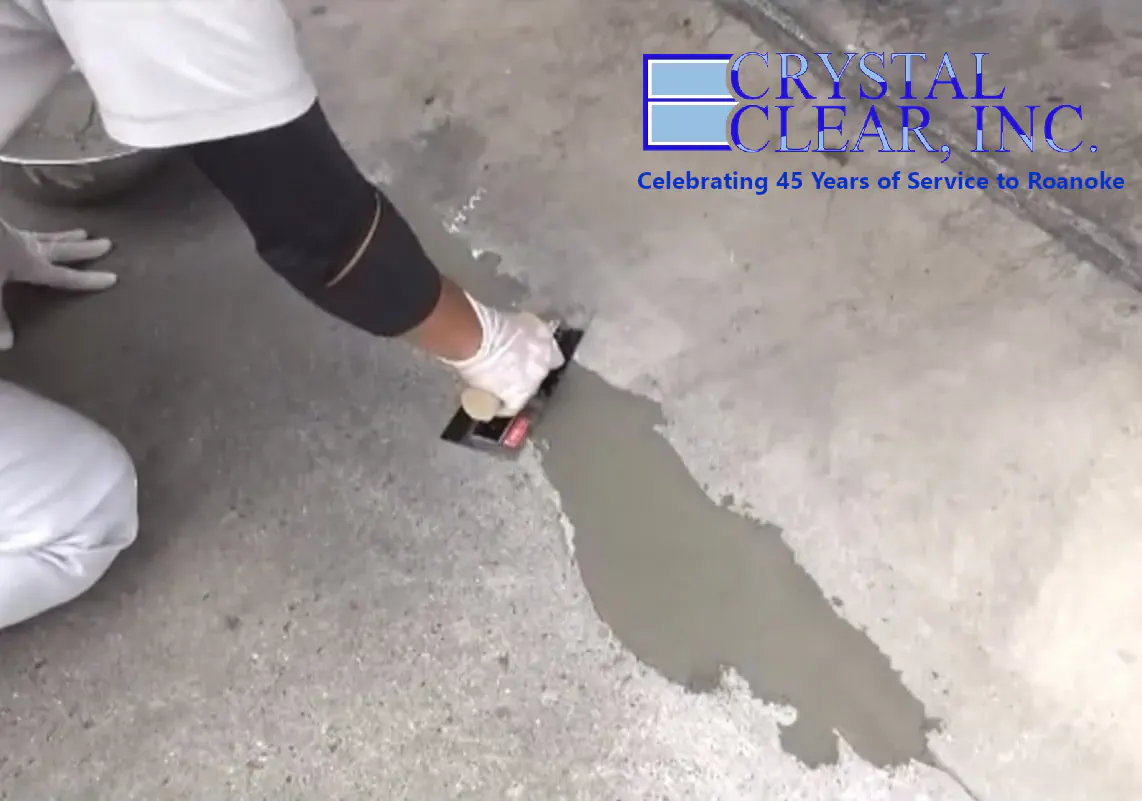
1. Cleanliness is Next to Godliness: The floor must be surgically clean. Acid etching isn’t enough; you need mechanical grinding or shot blasting to open up the concrete pores and remove every single contaminant. After that, industrial vacuuming and repeated mopping with a solvent cleaner are essential.
2. Moisture Mitigation: Ultra clear epoxy hates moisture. Moisture vapor transmission (MVT) rising through the concrete slab is the silent killer of clear finishes. It causes clouding, bubbling, and total delamination.
Best practice involves a simple test first: tape a plastic sheet to the floor overnight. If you see condensation in the morning, you need a specific MVT barrier coat before your clear epoxy goes down. Don’t skip this, or your luxury finish will look like a foggy morning in London.
 Temperature and Environment Control: Mastering the Elements
Unlike standard pigmented epoxy (where you might get away with a few minor environmental hiccups), ultra clear epoxy requires laboratory-like precision in its environment.
1. The Goldilocks Zone: Aim for application temperatures between 60°F and 80°F (15°C to 26°C), with low humidity (below 60% relative humidity is ideal). Too cold, and the epoxy becomes thick and won’t flow evenly or cure properly. Too hot, and it kicks (cures) too fast, leaving you no time to work and creating flashing (uneven sheen).
2. The Dust Bowl Factor: Airflow needs to be controlled. You want gentle air movement to help the solvents evaporate slowly and evenly, but you don’t want a fan blowing dust across your wet floor. Professionals seal off the area like a crime scene, using plastic sheeting over doorways and windows.
Mixing and Application: The Clear Chemistry
Mixing is a science, not an art. You’re combining a Part A (resin) and Part B (hardener) in precise ratios.
1. Measure Twice, Mix Right: Use a digital scale if necessary. Being slightly off on ratios with clear epoxy drastically affects its cure time, final harness, and worst of all, its clarity and non-yellowing properties.
2. The Two-Bucket Method: Mix in one bucket for 2-3 minutes with a slow-speed drill mixer to ensure everything is incorporated. Then, pour that mixture into a second clean bucket and mix for another minute. This prevents unmixed material stuck to the sides of the first bucket from ending up on your floor.
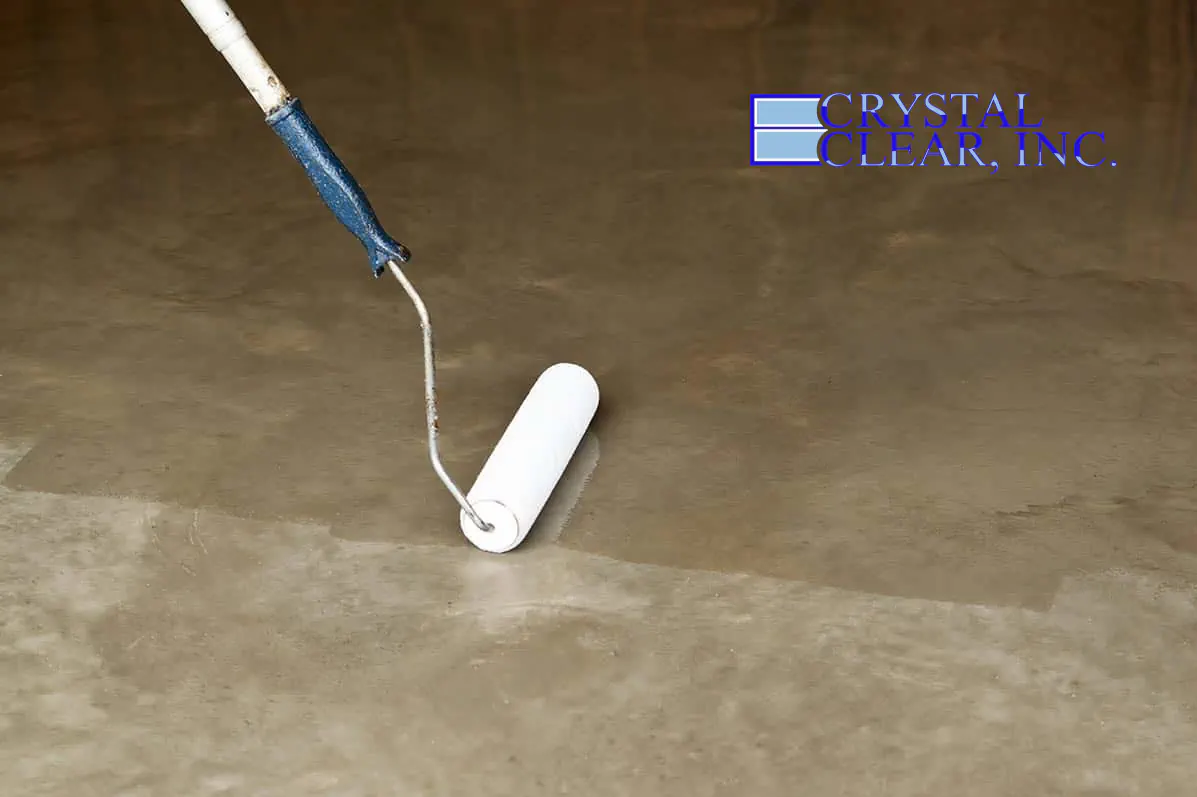
3. Application Speed: Once mixed, you’re on the clock. Clear epoxy systems typically have a short pot life. You need to pour it onto the floor immediately (spreading it out buys you more working time) and use a squeegee and roller to achieve an even layer, working swiftly and methodically.
The Finish Line: Curing and UV Resistance
The final best practice involves choosing the right topcoat. Most epoxies, even the “ultra clear” ones, are not inherently UV stable. In areas with direct sunlight (like near a garage door), they will yellow over time. The companies pushing “non-yellowing epoxy” often mean the base epoxy is slightly better, but true UV protection usually comes from the final topcoat.
The industry best practice for a lasting, crystal-clear finish is to apply a polyaspartic or polyurea topcoat over the cured epoxy base. These materials are highly UV resistant and offer superior scratch resistance.
The ultra-clear epoxy application isn’t for the faint of heart or the impatient. It demands precision, cleanliness, and the right environment.
But when those lights hit that flawless, liquid surface? It’s a work of art that completely justifies the premium price tag.